Tent camping can be an exciting outdoor adventure, but like any equipment, tents may require maintenance and repairs over time. End caps play a crucial role in keeping your tent poles secure and functional. They can get damaged over time. Therefore, one common issue campers face is How to Remove Tent Pole End Caps. In this comprehensive guide, we will walk you through the step-by-step process of removing tent pole end caps effectively and safely. Whether you’re a seasoned camper or a novice, this article will provide you with the knowledge and tips you need to tackle this issue with confidence.
Mastering the Art: How to Remove Tent Pole End Caps
Why Removing Tent Pole End Caps is Important
Before we dive into the removal process, it’s essential to understand why you might need to remove these end caps in the first place. Here are a few common reasons:
1. Maintenance and Cleaning
Over time, dirt, sand, and debris can accumulate inside the end caps, making it difficult to assemble and disassemble your tent poles. Regular cleaning is essential to ensure your tent functions smoothly.
2. Replacing Damaged End Caps
If your end caps are cracked, broken, or missing, it’s crucial to replace them. Removing the old end caps is the first step in this process.
3. Adjusting Pole Length
In some cases, you may need to adjust the length of your tent poles to accommodate different tent sizes or ground conditions. Removing the end caps allows you to do this effectively.
Tools and Materials You’ll Need
Before you start the removal process, gather the following tools and materials:
Tools
- Flathead screwdriver
- Pliers
- Rubber mallet
Materials
- Replacement end caps (if necessary)
- Safety goggles (to protect your eyes)
Step-by-Step Guide to Removing Tent Pole End Caps
Follow these steps carefully to remove tent pole end caps without damaging your tent or the poles themselves:
1: Ensure Safety
Wear safety goggles to protect your eyes during the removal process.
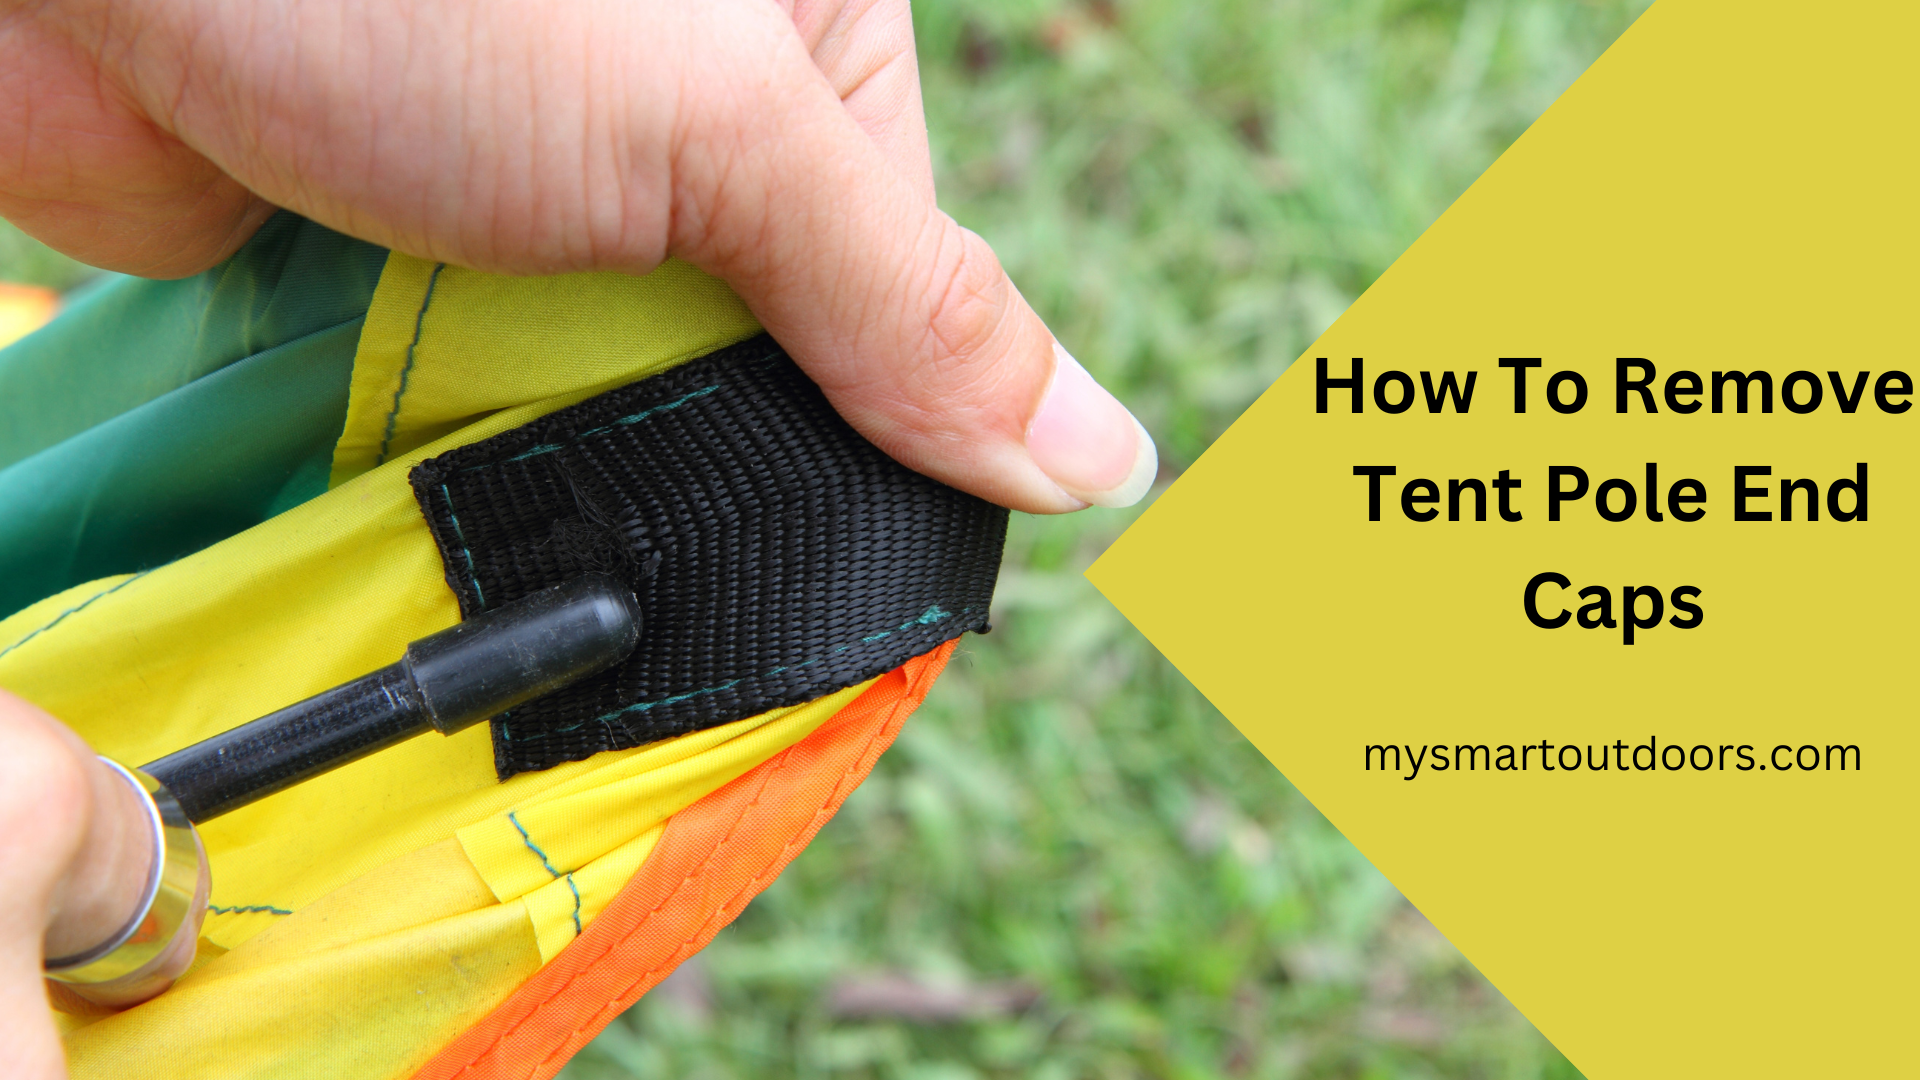
2: Identify the End Caps
Locate the end caps on your tent poles. They are typically situated at the top and bottom of each pole.
3: Check for Damage
Examine the end caps for any visible damage. If they are cracked or broken, it’s advisable to replace them.
4: Loosen the End Caps
Using a flathead screwdriver, gently pry open the end caps. Be cautious not to apply too much force, as this could cause damage.
5: Use Pliers
If the end caps are stuck, use pliers to grip and twist them counterclockwise. This should help loosen them from the pole.
6: Tap with a Rubber Mallet
In stubborn cases, you can tap the end caps gently with a rubber mallet to loosen them further. Be careful not to strike too hard, as this could dent the poles.
7: Remove the End Caps
Once the end caps are loose, carefully remove them from the poles. Clean the interior of the end caps and the pole ends to remove any dirt or debris.
8: Replace Damaged End Caps
If you identified any damaged end caps during the process, replace them with new ones. Ensure they fit securely on the pole ends.
9: Reassemble Your Tent
With the end caps removed or replaced, reassemble your tent poles. Make sure they fit together snugly and securely.
Preventing Tent Pole End Cap Issues
Regular Cleaning and Lubrication
To prevent end cap issues, it’s essential to clean your tent poles after each camping trip.
- Remove dirt, dust, and debris.
- Use a mild soap and water solution to clean the poles gently. Avoid abrasive cleaners that could damage the surface.
- After cleaning, thoroughly dry the poles to prevent rust or corrosion.
- Lubricate the joints and moving parts of the poles with a silicone-based lubricating spray. This reduces friction and helps prevent end caps from sticking or wearing out prematurely.
Storing Tent Poles Properly
- Proper storage is crucial to prevent end cap issues when the tent is not in use.
- Disassemble the tent poles and store them in a cool, dry place. Avoid leaving them in direct sunlight or extreme temperatures.
- Use a dedicated storage bag or pouch to keep the poles organized and protected from dust and moisture.
- Store the tent poles in a way that minimizes pressure on the end caps. Avoid stacking heavy objects on top of them, which can cause damage.
Handling with Care
- Handle your tent poles gently and avoid applying excessive force when setting up or taking down your tent.
- Be mindful of the poles’ placement during assembly, ensuring they are properly aligned and seated in the end caps.
- When disassembling the tent, avoid yanking or pulling on the poles, as this can strain or break the end caps.
- If you encounter resistance or difficulty, take your time to troubleshoot the issue rather than forcing the poles, which could lead to end cap damage.
Conclusion
Removing tent pole end caps may seem daunting, but with the right tools and a careful approach, it’s a manageable task. Regular maintenance and inspections can help prevent issues with your tent poles and ensure a hassle-free camping experience.
FAQs
1. Can I use a regular hammer instead of a rubber mallet?
It’s not recommended, as a regular hammer can damage the tent poles. A rubber mallet is gentler and less likely to cause harm.
2. How often should I clean my tent pole end caps?
Cleaning the end caps after every camping trip is a good practice. Regular maintenance can prolong their lifespan.
3. Where can I find replacement end caps for my tent poles?
You can find replacement end caps at outdoor gear stores, camping supply shops, or online retailers that specialize in camping equipment.
4. Are there any specific brands of end caps you recommend?
While there are various brands available, it’s essential to choose end caps that are compatible with your tent poles. Check the manufacturer’s recommendations for the best fit.
5. Can I lubricate the end caps to make them easier to remove?
Yes, applying a small amount of silicone lubricant to the end caps can help ease their removal. Just be sure to wipe away any excess lubricant to prevent dirt buildup.